 User guide
Use the mobile app#
The Pocpod app is the working tool for drivers and operators. It supports assigned work, direct job creation, proof of collection and delivery, photos, damage recording, signatures, reports and offline-friendly syncing.
Navigate the app#
Open the menu to reach Dashboard, Planner, History, Contacts, Account, Web Portal, Settings and About. Owners may also see Sub Users.
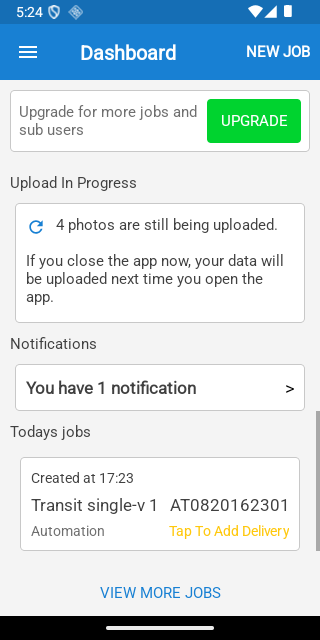
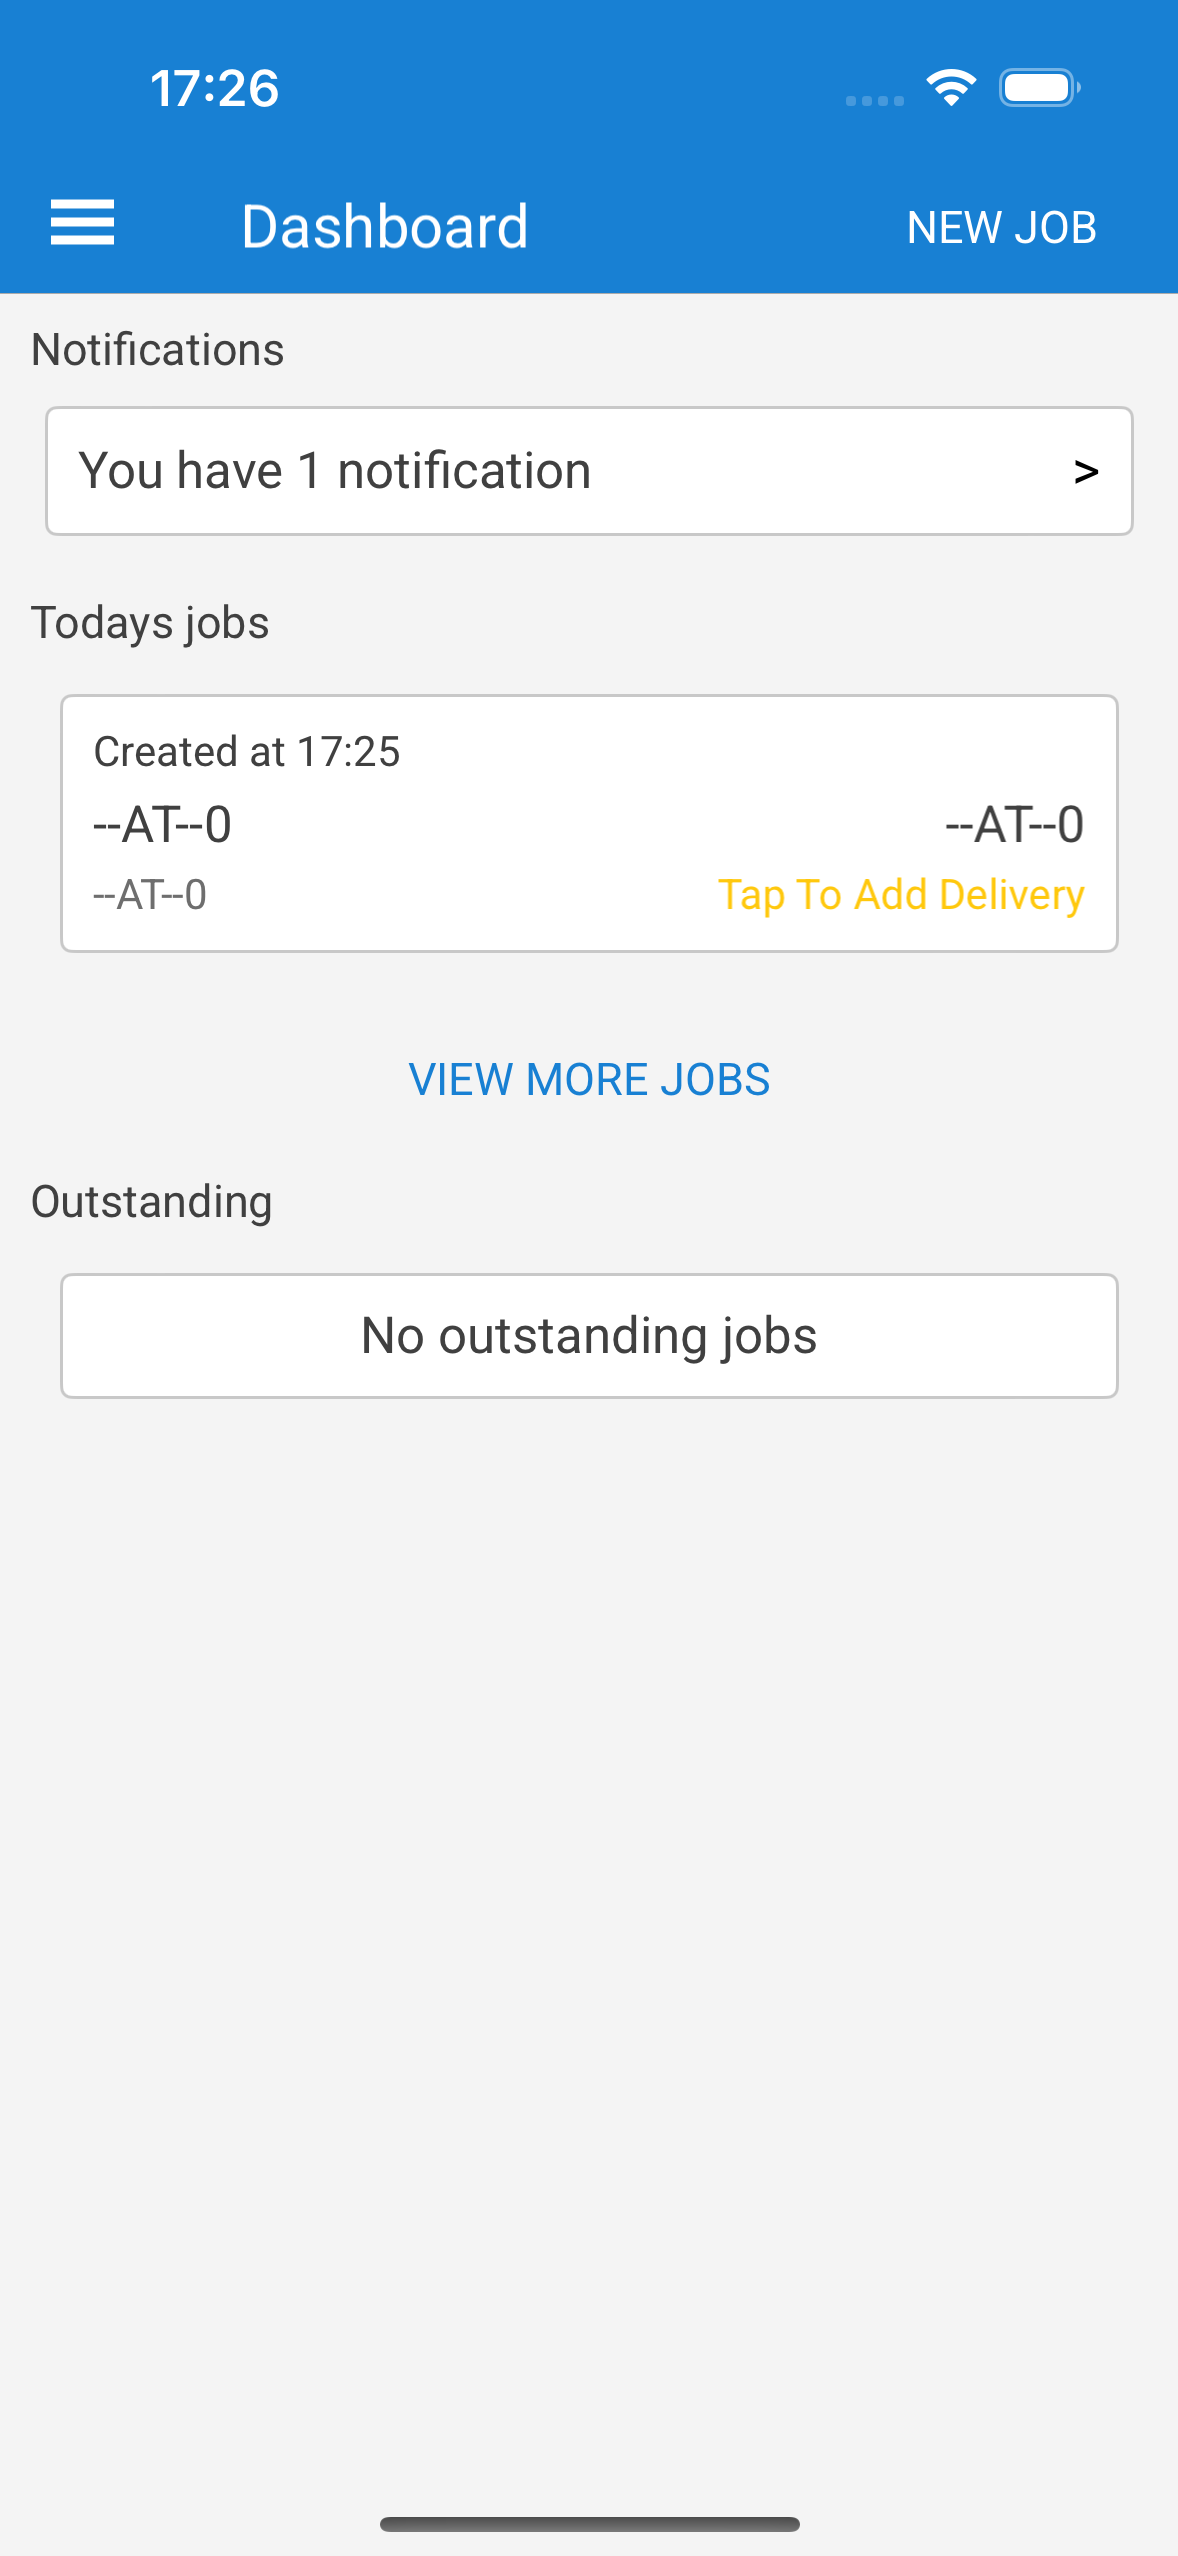
The dashboard groups today's and outstanding jobs. Tap a job to view its information and available collection or delivery action.
Work online or offline#
Pocpod regularly syncs jobs, contacts, settings and completed work whenever an internet connection is available. If the device has no connection, changes are stored locally so you can continue working and are uploaded automatically when a connection becomes available again.
Allow syncing to finish before deleting the app, clearing its storage or moving to a different device, because locally stored work may not yet have reached your account.
Background sync can be enabled under Settings, but the operating system may restrict it to save battery or data.
Create a job in the app#
Use the app's add action from the dashboard or relevant job view. Enter the customer/location and vehicle details, then save. The exact fields reflect company settings and your permissions.
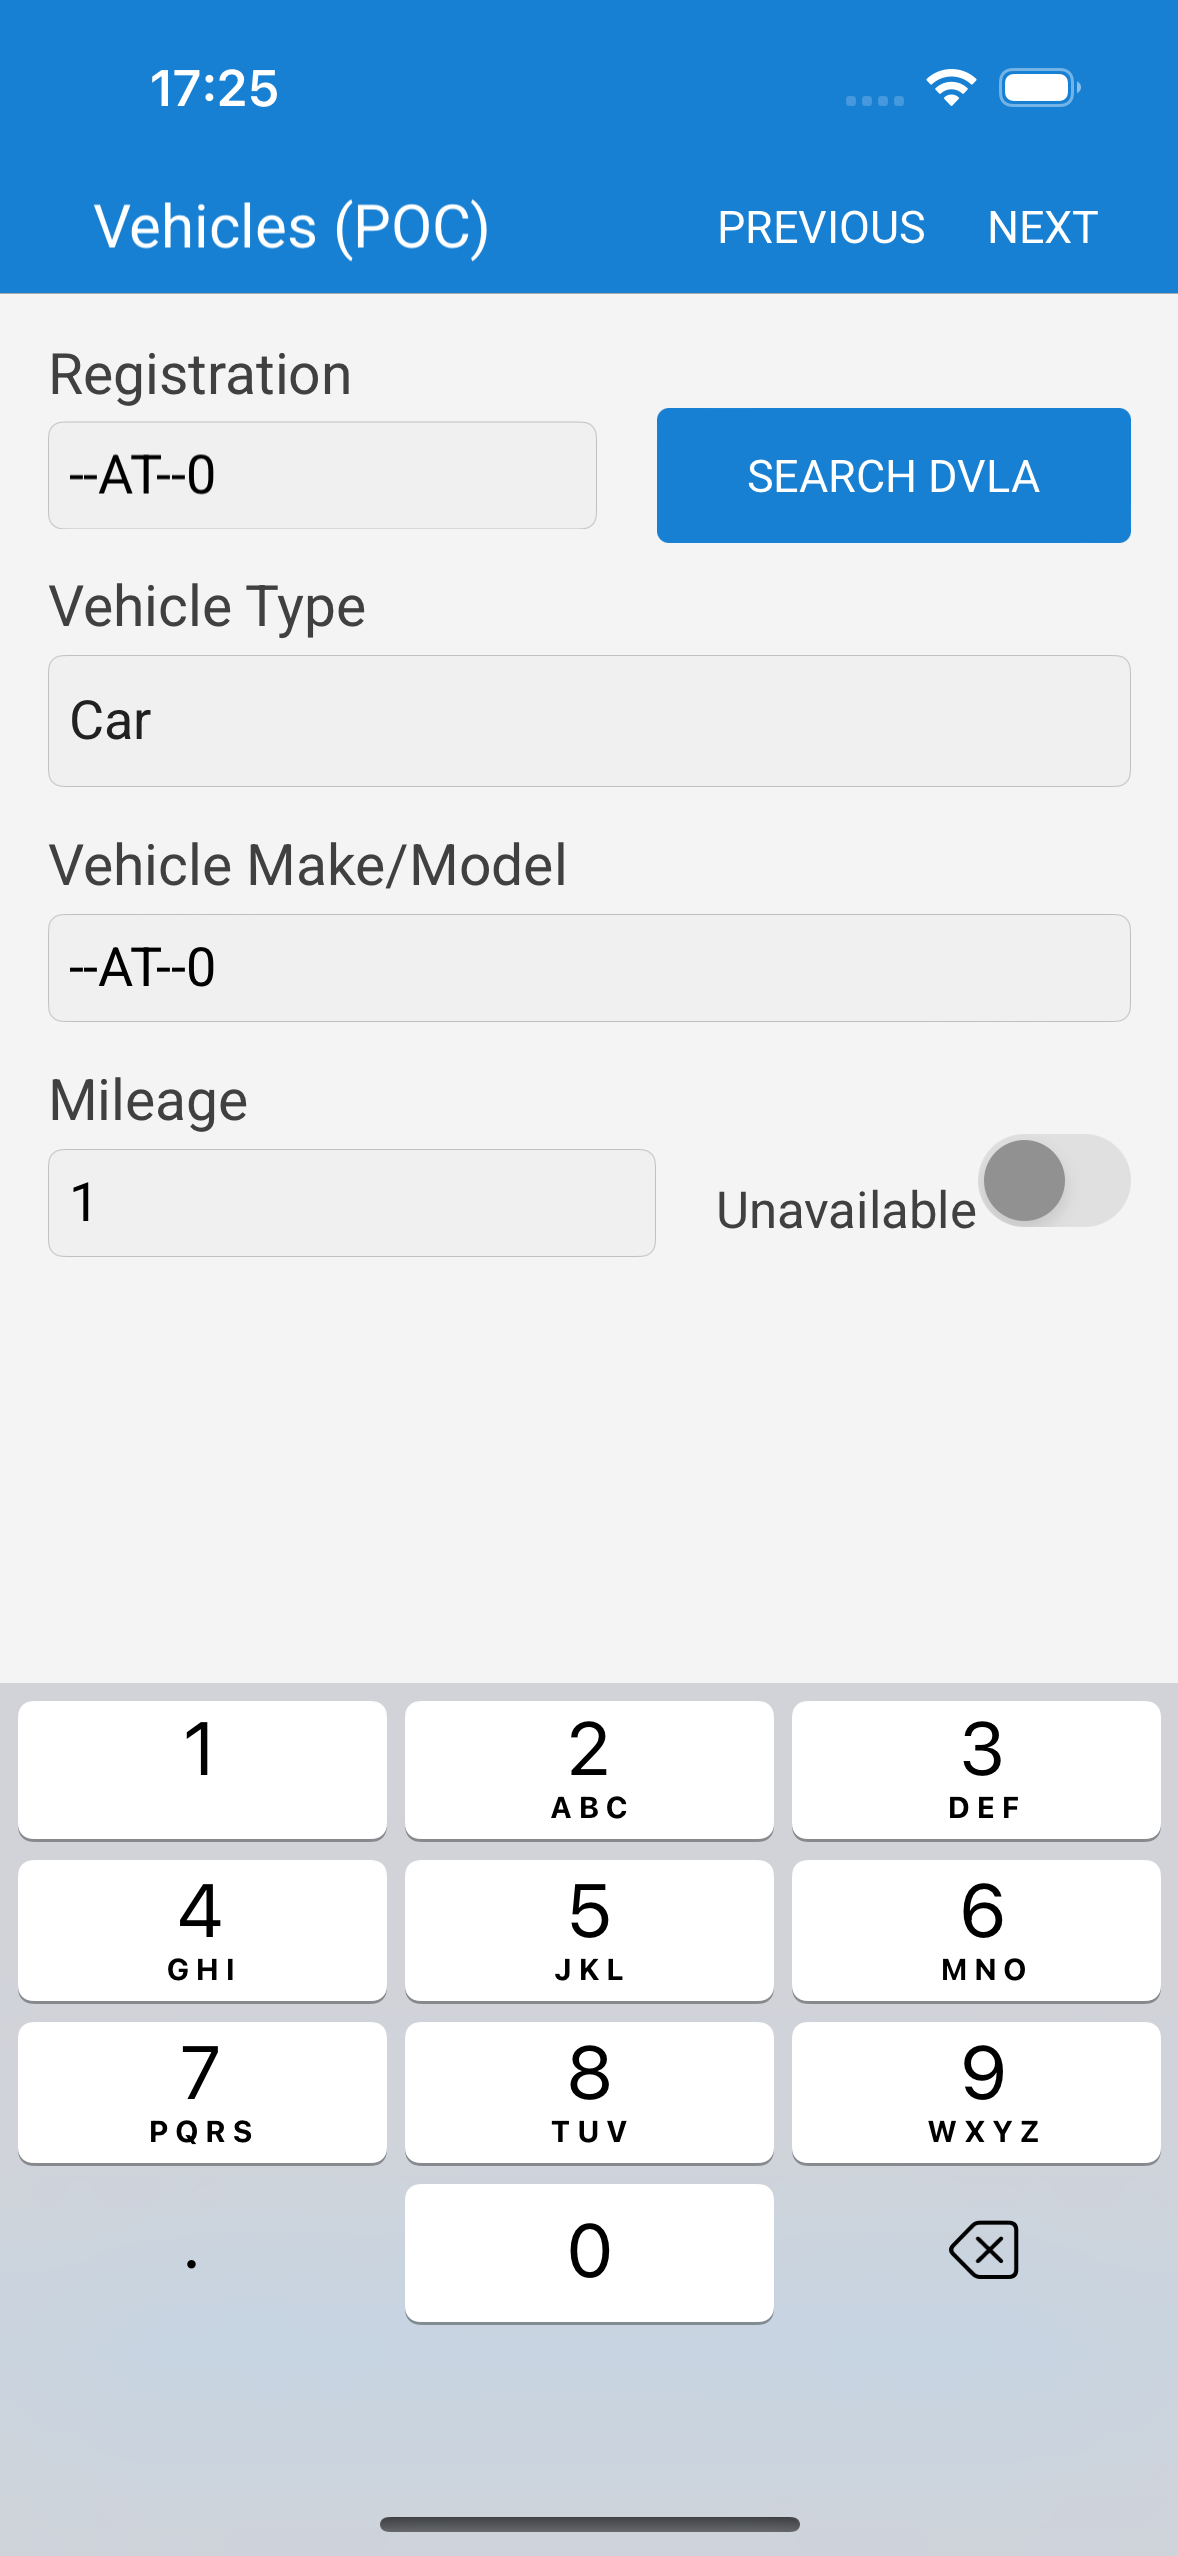
For a UK registration, Search DVLA may be available on the vehicle step. Review returned values before continuing. If direct creation is unavailable, ask an office user to create and assign the job in the portal.
Start a collection or delivery#
Open the required job. Review its information, then choose the collection or delivery action. A delivery may use the earlier collection evidence as context, but you should record the vehicle's current condition.
Follow the wizard in order. Use the forward/back controls rather than closing the app so entered data remains attached to the proof.
Confirm customer and location#
On Customer, use Find to select a saved contact or enter the customer directly. Confirm the location and add a reference when useful.
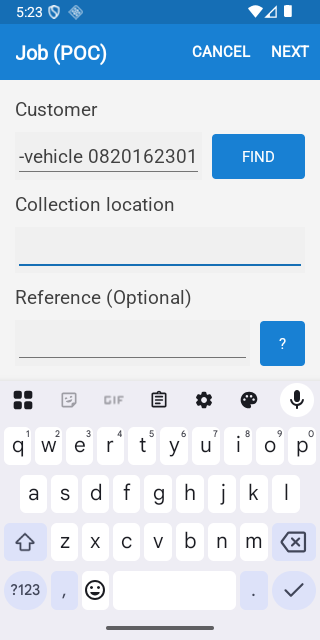
The location label changes for collection and delivery. Make sure you are recording the correct stage before continuing.
Record each vehicle#
Enter the registration, vehicle type, make/model and mileage. Mark mileage unavailable only when it genuinely cannot be read. Complete any additional fields required by company settings.
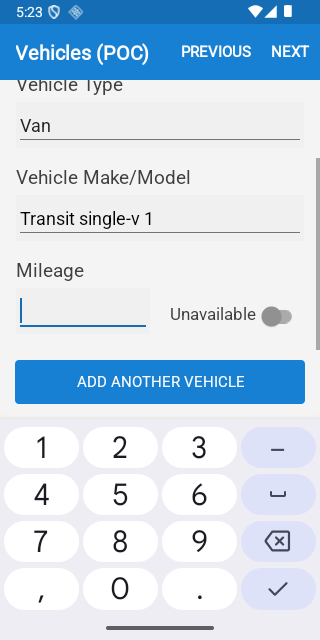
For multi-vehicle jobs, use Add Another Vehicle and complete every vehicle separately. Select Photos/Damage for the correct vehicle before adding evidence.
Capture photos#
On Photos, choose Take Photo for the camera or From Gallery for an existing image. Android users can enable multi-photo library selection in app settings.
Take clear, well-lit images that identify the vehicle and show its overall condition. Add close-ups for defects. Check the preview before continuing and retake unusable photos.
Mark damage#
On the damage step, drag the appropriate marker onto the matching part of the vehicle diagram. Marker codes cover items such as dent/ding, multiple dents, chip, rust, scuffed wheel, scuff, broken, damage, scratch and other.
Add a photo to a damage indicator where useful. Check that each marker belongs to the correct vehicle in a multi-vehicle proof.
Add notes and accessories#
Complete any additional proof details configured by your account owner, then add relevant free-text notes. These fields are selected in Settings → Proof Details in the portal and may be optional or required. Use the accessories list to show what is present. + All, - None and Reset can speed up the selection, but always verify the final list.
Write factual notes. Customer-facing reports may include this information.
Review and collect a signature#
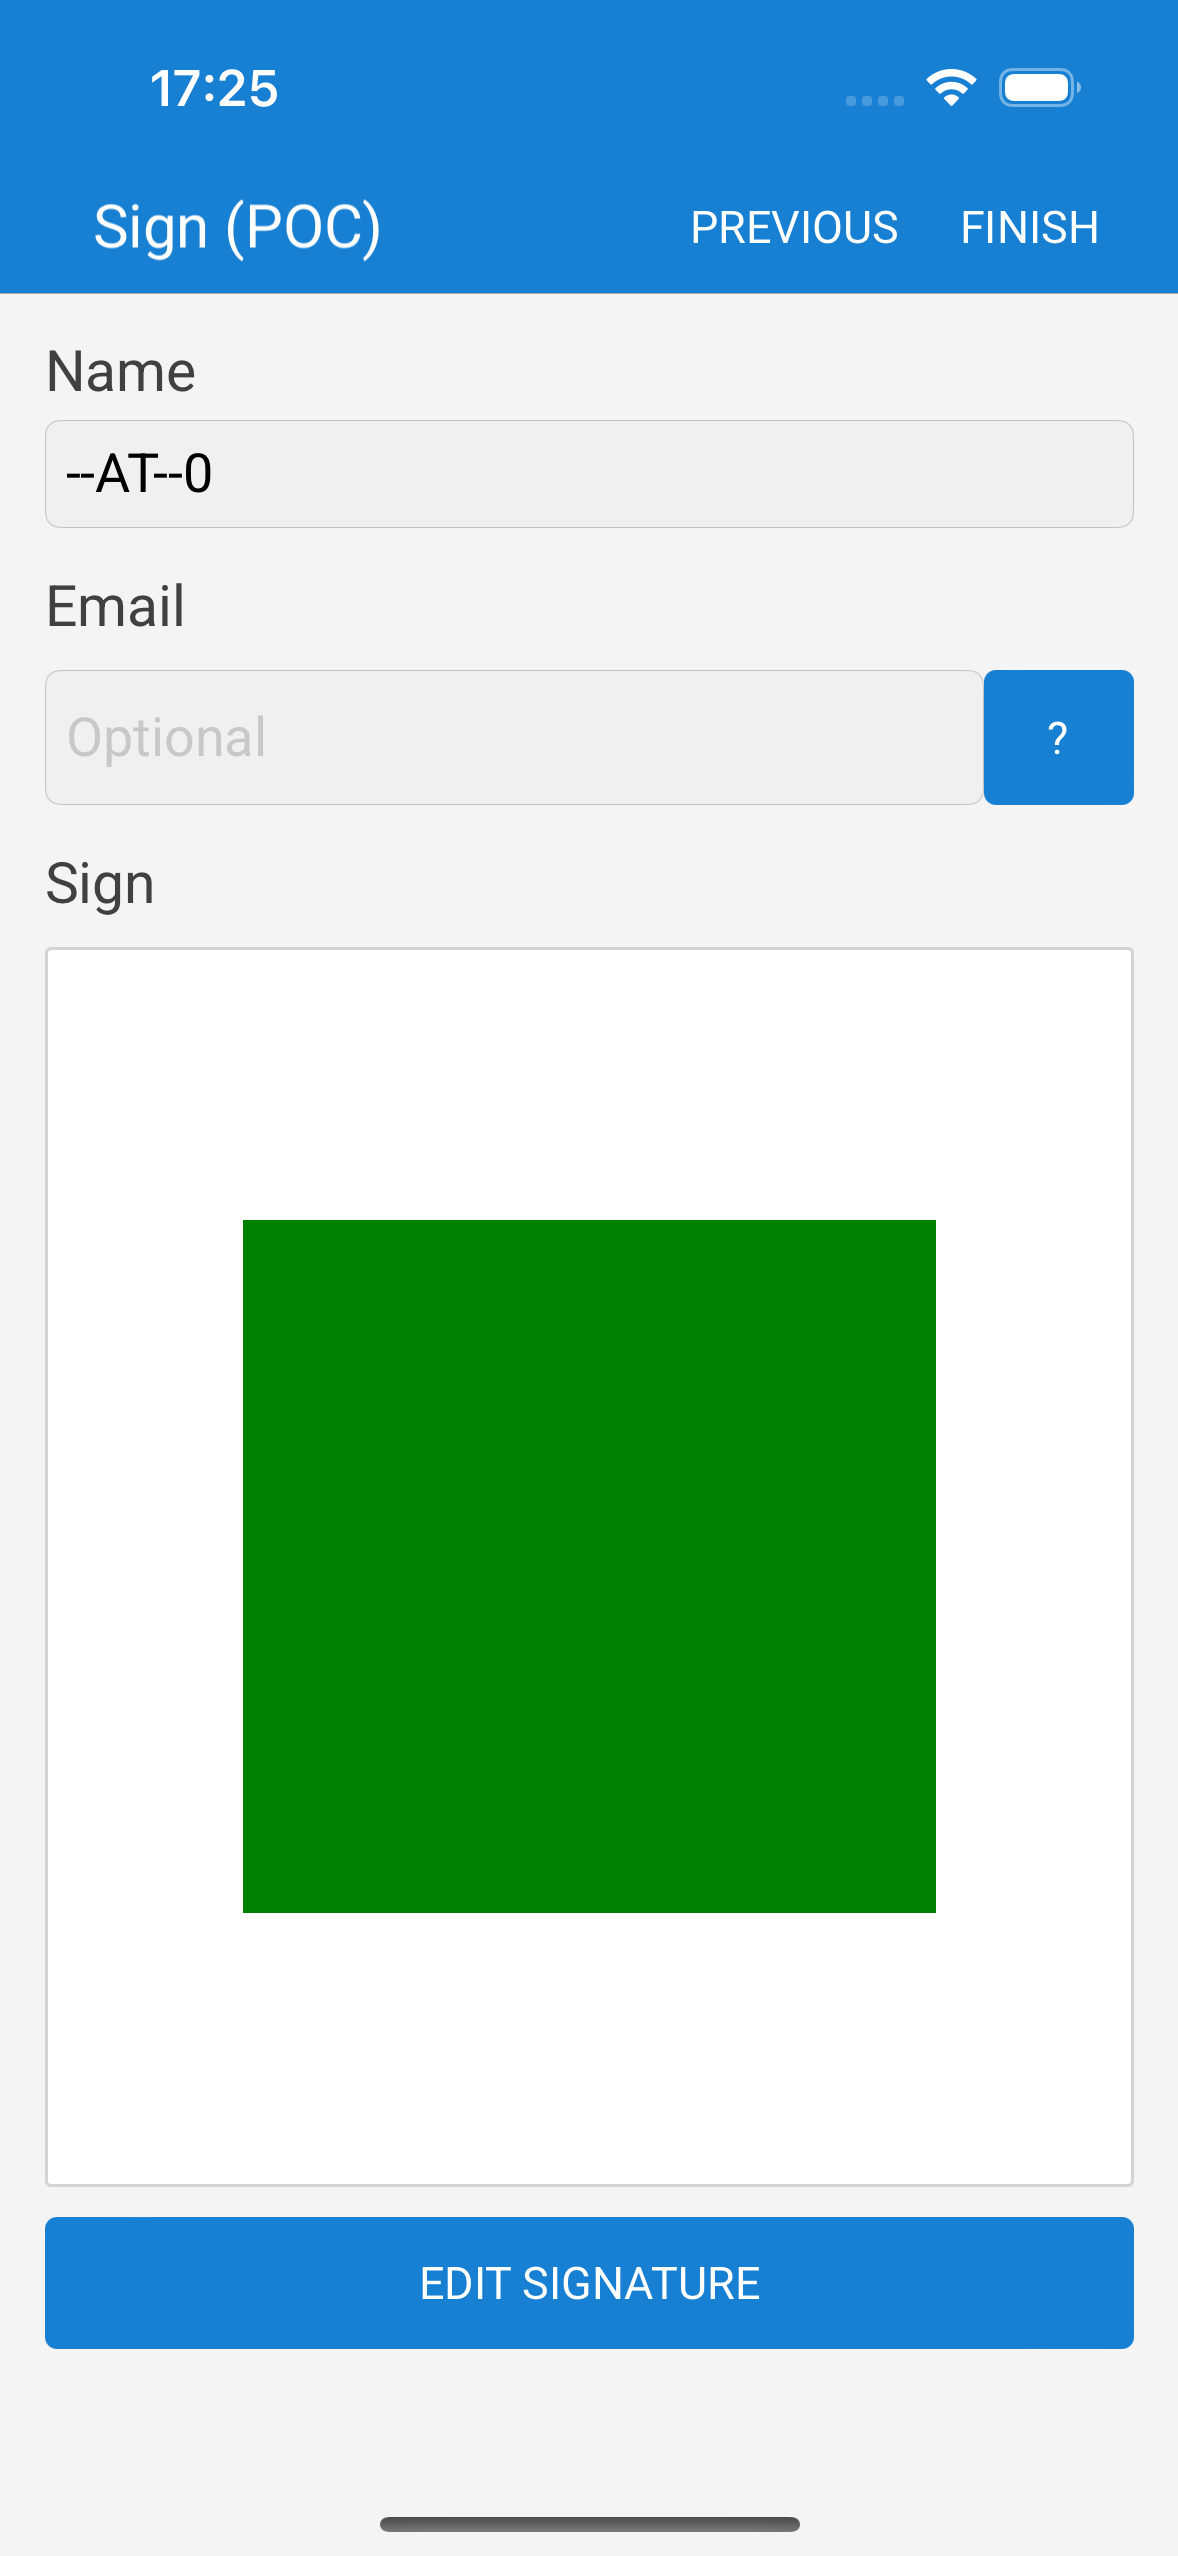
Enter the signer's name and verify the report email. Ask the customer to review the captured information, then choose Add signature. The customer signs on the device and confirms.
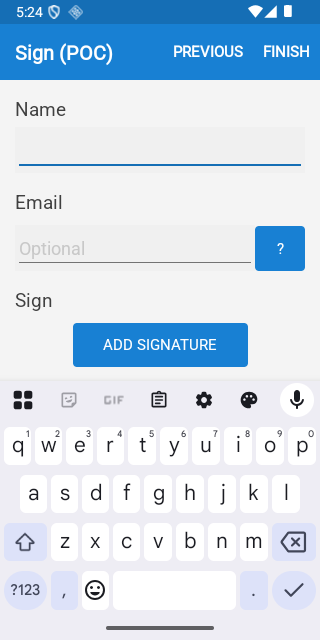
Do not sign on the customer's behalf. Use Edit signature if the mark is incomplete. If the contact is configured for automatic reports, its email may already be filled in; still confirm it aloud.
Finish, send and sync#
Complete the proof and use the report action when the report should be emailed. Wait for confirmation before leaving the screen. A failed send does not necessarily mean the proof was lost; check History and retry when connected.
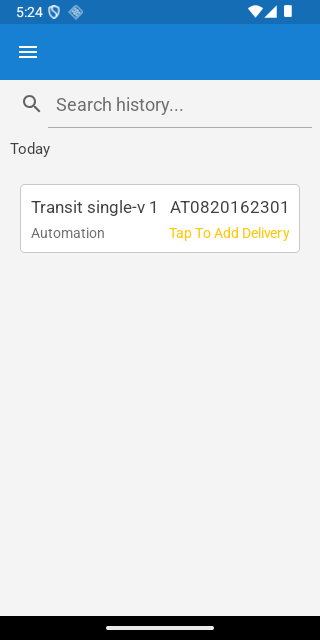
Open History to confirm the collection or delivery is present. A synced proof also appears in the portal job history.
Use iPhone or iPad#
The iOS workflow and information are the same. Native pickers, buttons and spacing can differ, but the sequence remains customer, vehicles, photos, damage, notes/accessories and sign-off.
Manage contacts, account and sub-users#
Use Contacts to search or create customer records. Account shows the signed-in identity. Owners can use Sub Users for linked-user actions available in the app, although roles and detailed permissions are easier to manage in the portal.
Choose Web Portal to open the browser-based portal. About provides app information useful when contacting support.