 User guide
Contacts and customers#
Contacts save the people and organisations you work with. Selecting a saved contact on a job reduces retyping and keeps addresses, email details and reporting preferences consistent.
Create a contact in the portal#
- Go to Contacts → Create Contact.
- Enter the name and the available address, telephone and email details.
- Set the report-delivery preference if reports should normally be emailed to this contact.
- Save the contact.
- Open Contacts → View Contacts to confirm it appears.
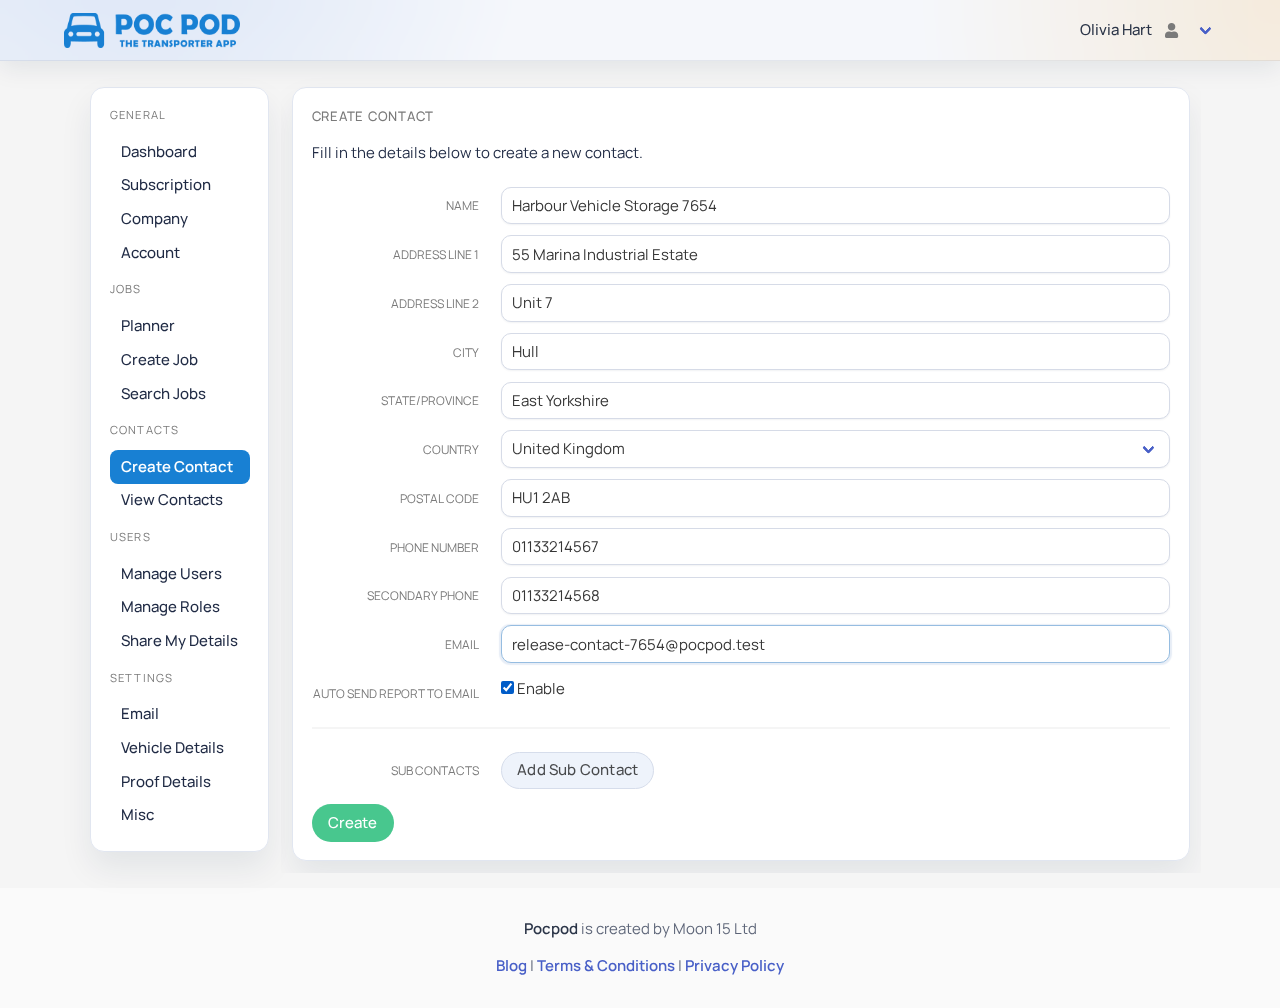
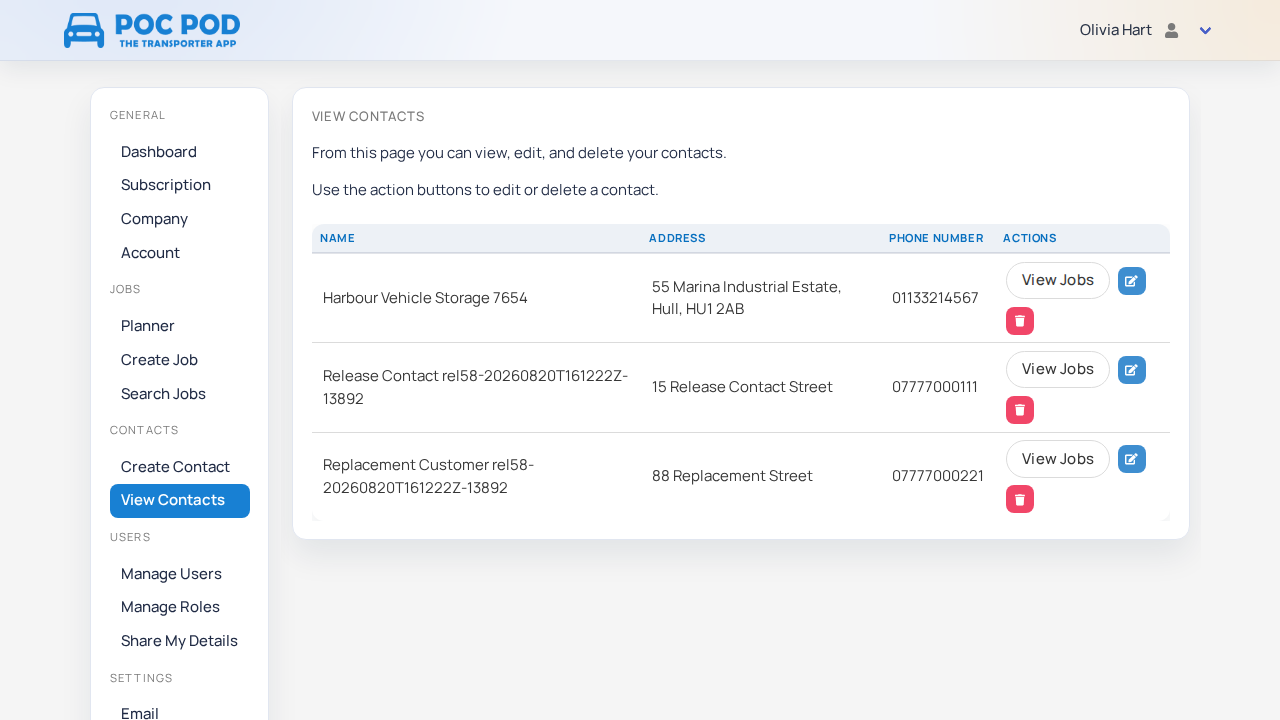
Use a business or depot as the main contact when several people share the same organisation. Put the most useful operational address and report email on the record.
Edit or remove a contact#
Open View Contacts, find the record and choose its edit action. Update the details and save. Where deletion is available, check that the contact is no longer needed before confirming; historical jobs keep their own recorded information.
If you cannot see create, edit or delete actions, ask an owner to grant contact-management permission.
Create sub-contacts#
A sub-contact represents a person, branch or department beneath a parent contact.
- Open the parent in View Contacts.
- Choose the sub-contact action.
- Enter the child details and save.
- Confirm the child is shown under the correct parent.
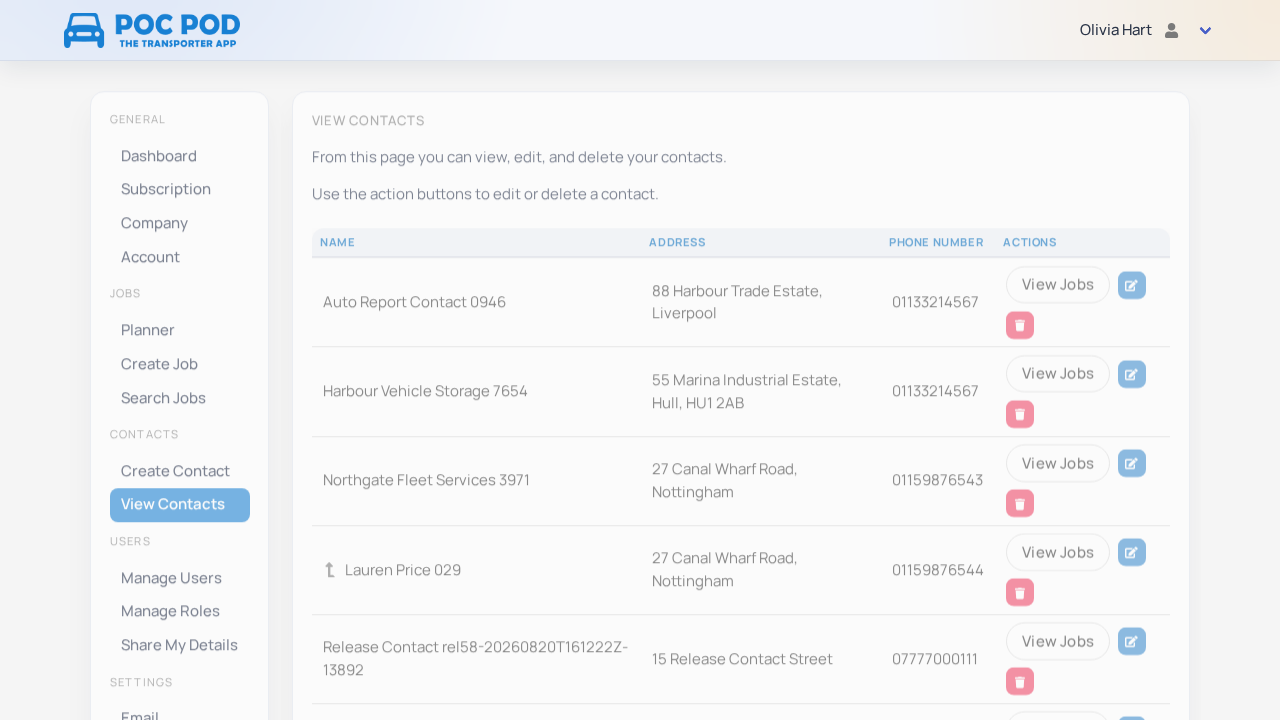
This structure is useful for a customer with multiple sites or named people. Keep shared organisation details on the parent and specific contact details on the child.
Understand contact versus customer#
A contact is a reusable address-book record. A customer is the contact or customer information selected for a particular job or proof. The same contact can be the customer on many jobs; a job also preserves the details used at the time.
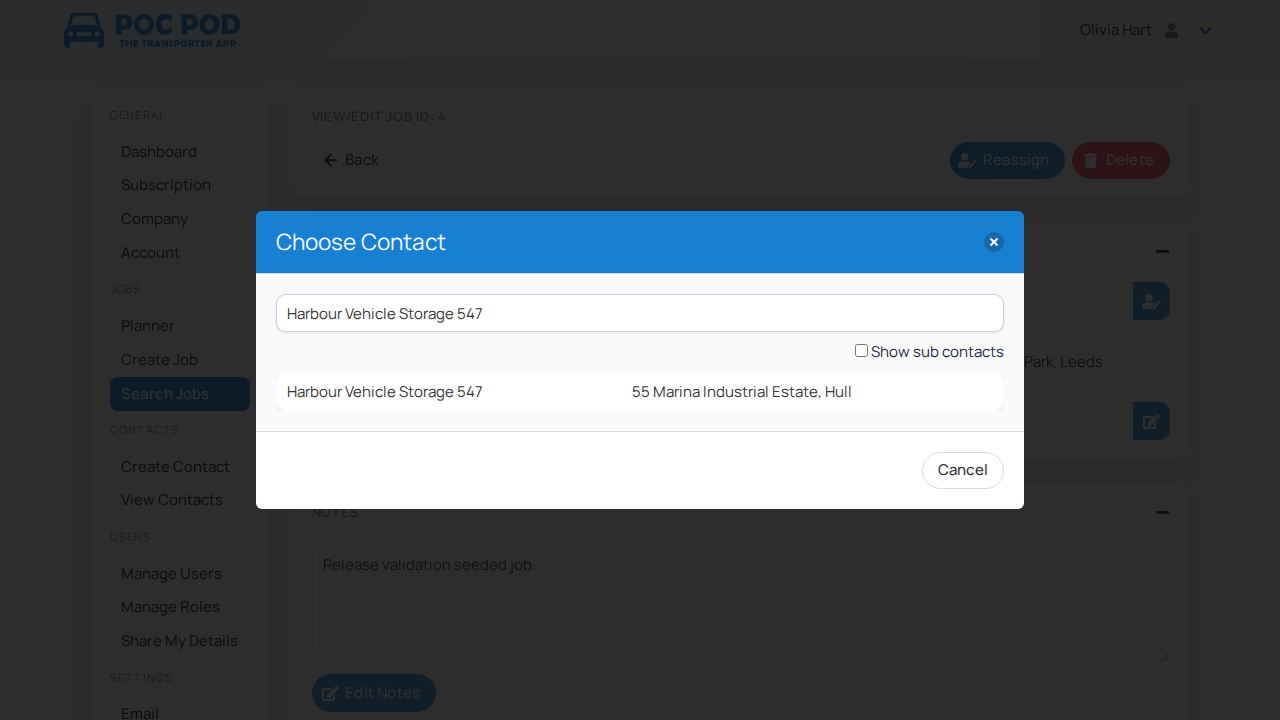
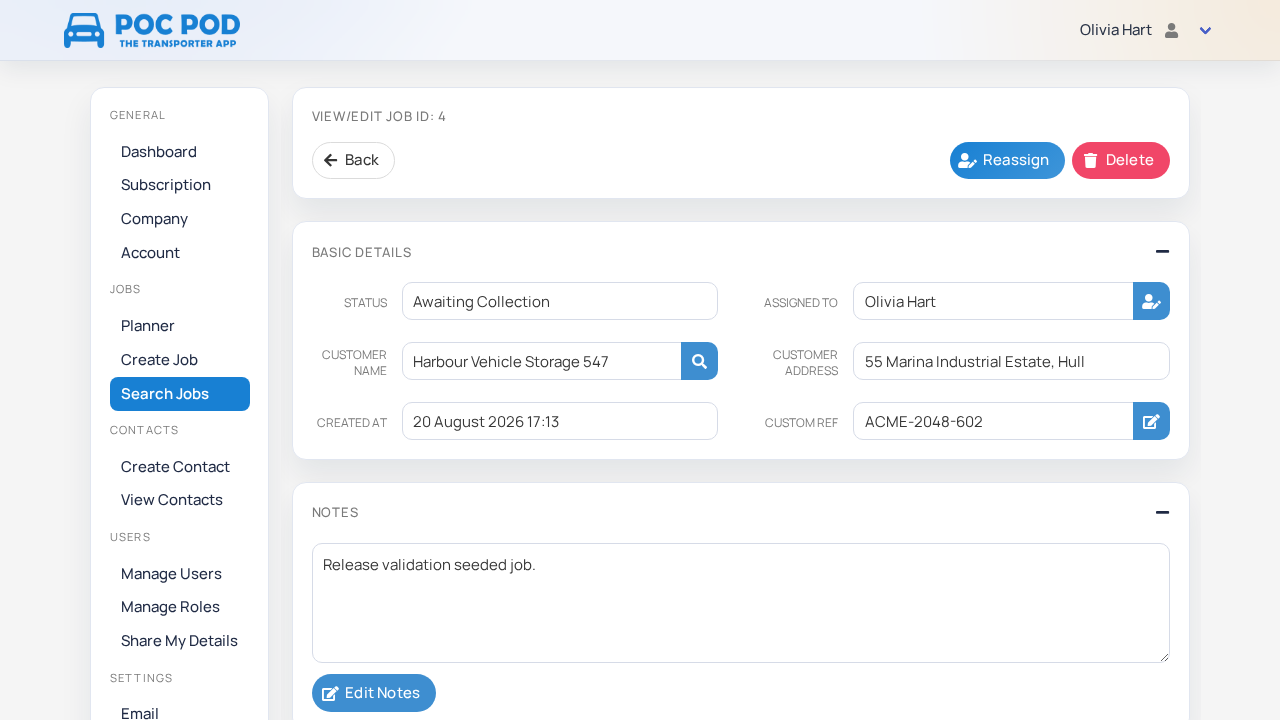
While creating or editing a job, open the customer selector, search the saved contacts and choose one. Review the populated details before saving.
Automatically send reports#
When editing a contact, enable Auto Send Report To Email and make sure the contact has a valid email address. When a driver selects that contact and reaches the signing step, Pocpod fills in the contact's email address so the completed report is sent automatically.
The driver should still verify the recipient with the customer before sending. Turning the preference off affects future workflows; it does not retract reports already sent.
Create or find contacts in the app#
Open the app menu and choose Contacts. Search before creating a record to avoid duplicates. Select a result to use or edit it; use the add or create action when the customer does not exist.
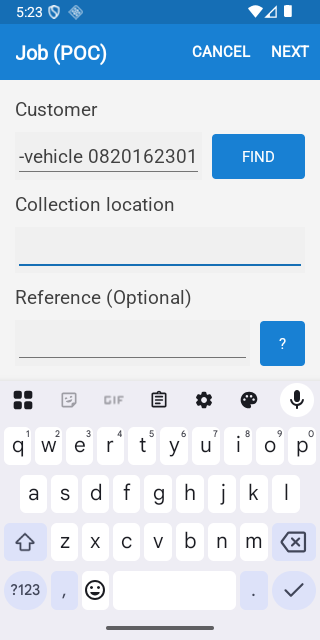
During a proof, the Customer step includes Find. Use it to select a saved contact, or enter the customer and location directly when appropriate.
New and changed contacts sync with the portal when a connection is available. If a contact is missing, return to the dashboard and refresh or sync, then search again.