 User guide
Planner and scheduling#
The planner gives office teams a calendar-style view of work. Use it to balance assignments, move through dates and find jobs that still need scheduling.
Read the planner#
Go to Jobs → Planner. Use the period controls to move backward or forward and review jobs shown against their planned dates or users. Select a job to open its details.
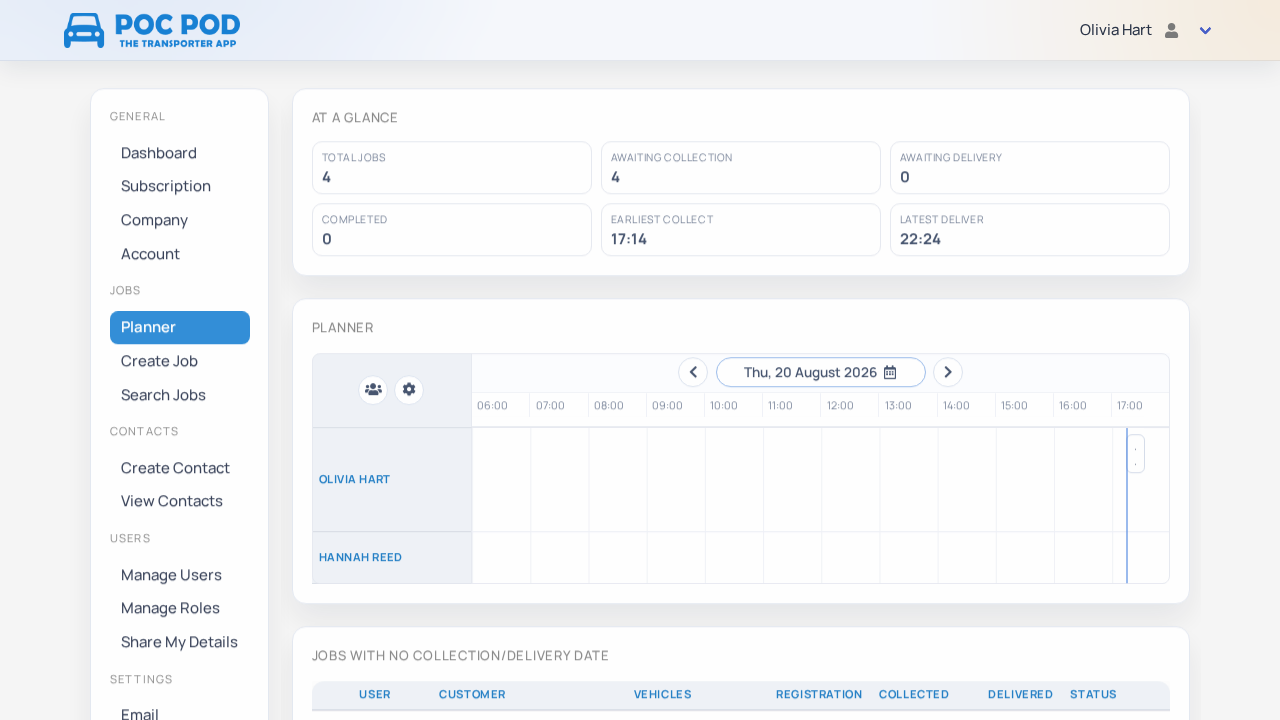
A job can exist without appearing in the expected slot if its date, assignment or filters do not match the current view. This commonly happens with jobs created directly in the app, where collection and delivery dates cannot be specified. Check Unscheduled Jobs before creating a duplicate.
Find unscheduled jobs#
Open the unscheduled area to see work that has not yet been placed in the planner. Review each job, add the missing schedule or assignment, then return to the calendar.
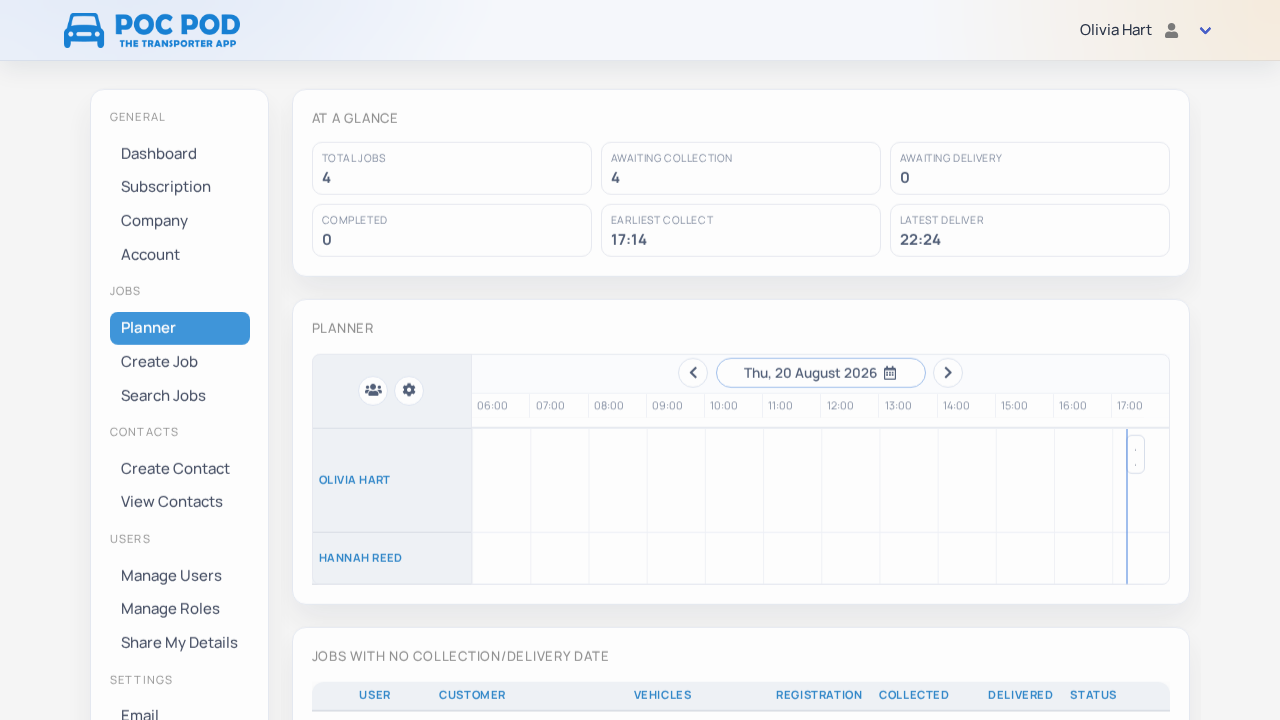
Keep collection and delivery dates realistic and make sure the assigned user has been invited successfully.
Quick-add a job#
From the planner, choose the quick-add action in the required scheduling context. Enter the essential customer, vehicle and movement details. Confirm the date and user inherited from the planner, then save.
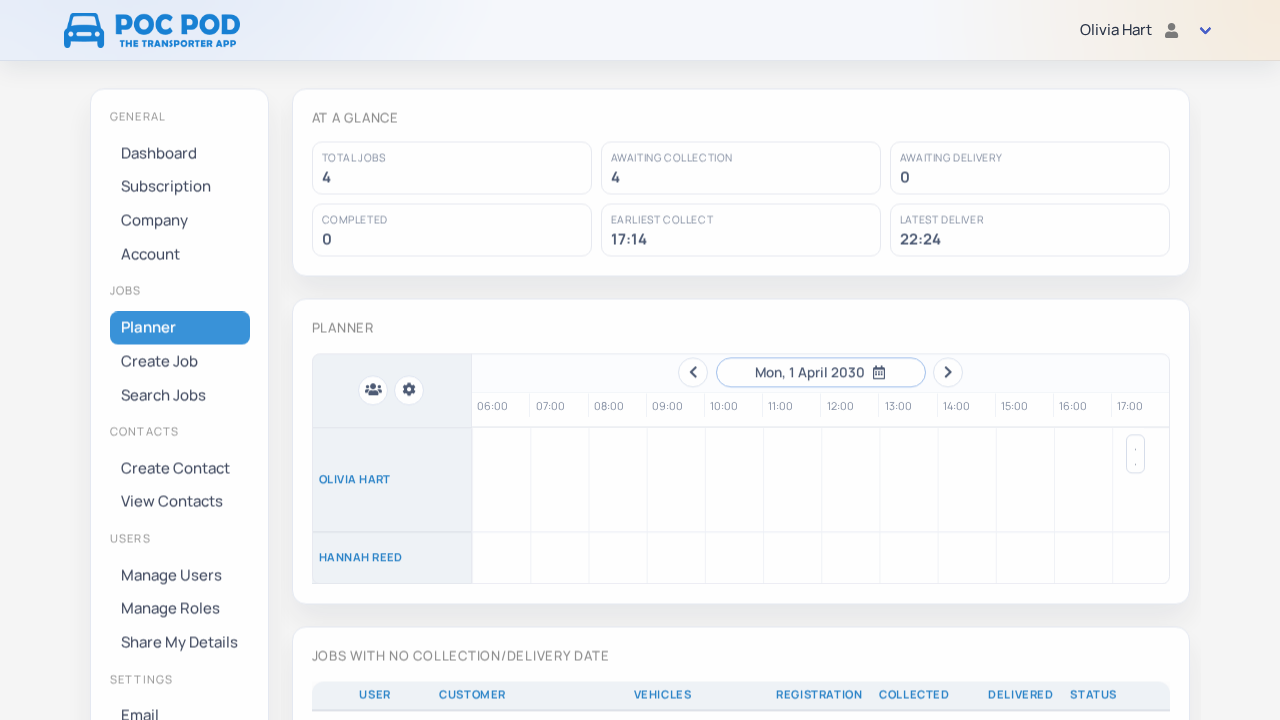
Open the saved item once to complete any detail not included in quick add. Use the full Create Job form when you need every field from the start.
Open job and report details#
Select a planner item to open its job. Completed, proof-backed work can provide a report preview directly from the planner flow.
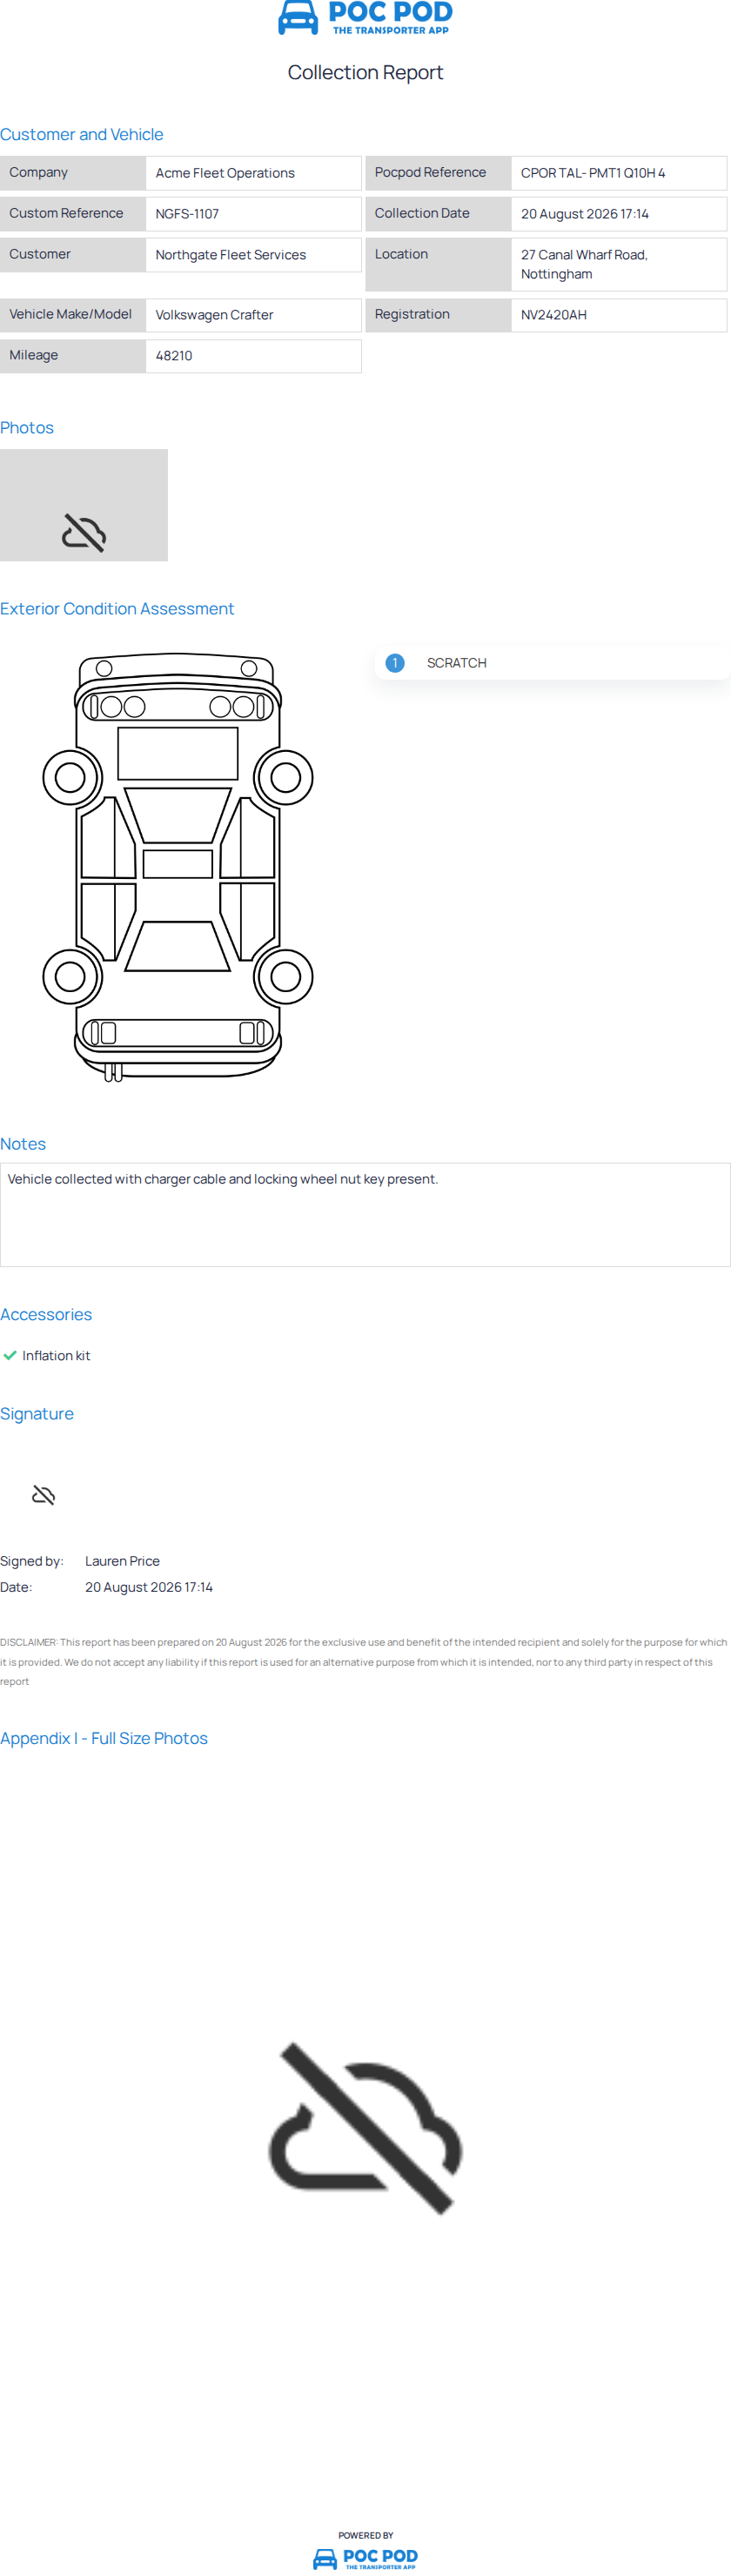
If no report is available, the driver may not have completed and synced the proof yet. Check the job history and ask the driver to sync.
Use the app planner#
In the app menu choose Planner. Use the arrows to change the period and select a job to view or work on it. The app planner is intended for the signed-in user's operational view; the portal remains the better place for organisation-wide scheduling.