 User guide
Set up your business#
Account owners should complete these settings before inviting drivers. They control the details shown on reports and the information the app asks users to capture.
Add company details#
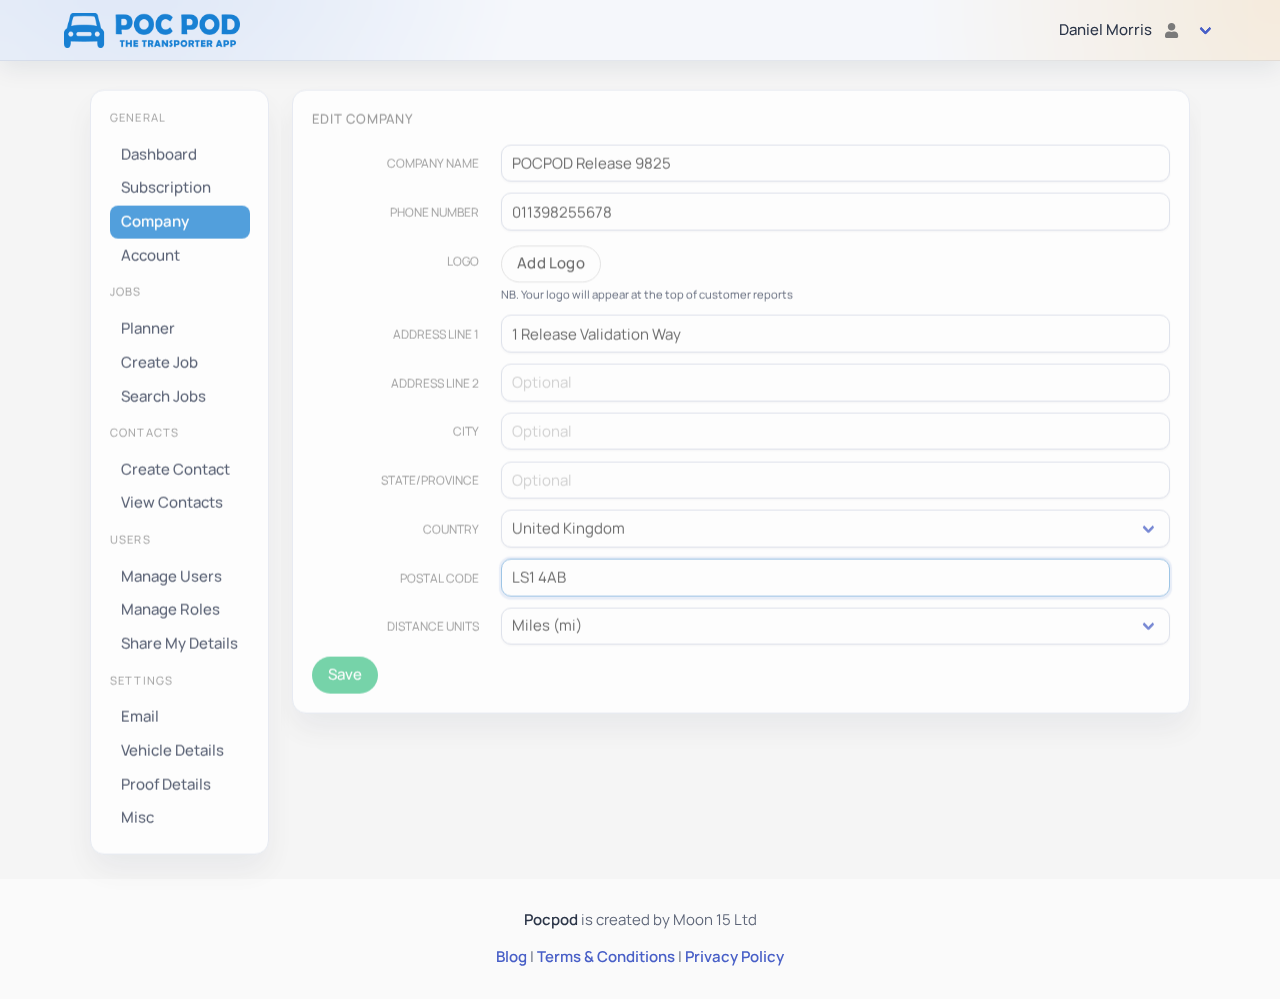
In the portal, go to General → Company. Enter the trading name and contact details that should identify your organisation, then save.
Review spelling and email addresses carefully because company information may appear in customer-facing output.
Update your own account#
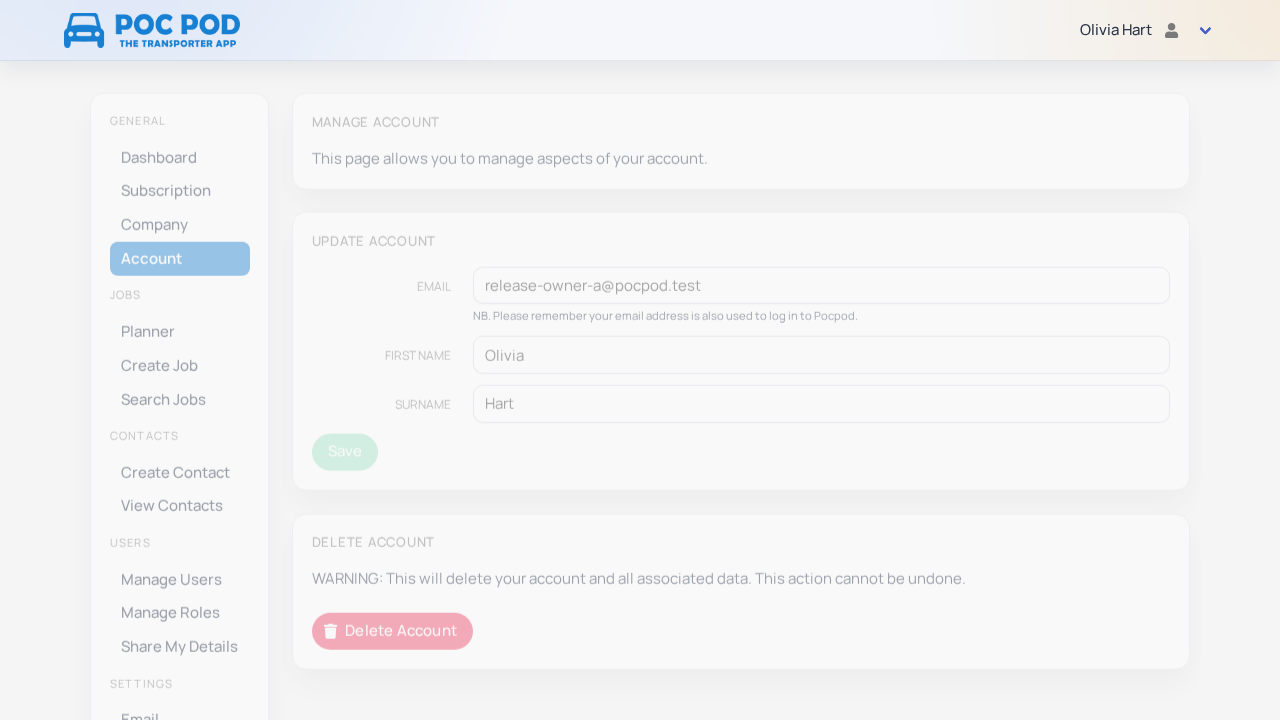
Open General → Account to review your display name and personal account details. This is your identity, not the company's shared profile. Save the changes before leaving the page.
Configure vehicle details#
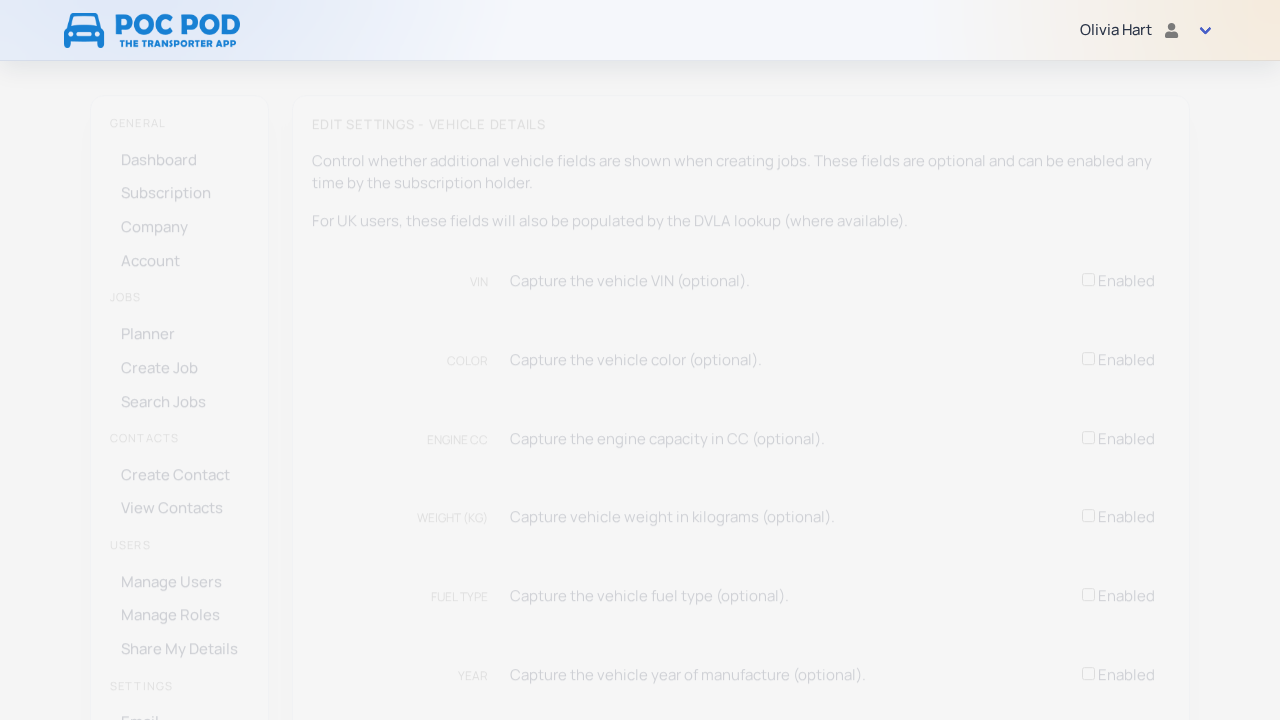
Go to Settings → Vehicle Details. Enable the fields your operation needs drivers to record, such as VIN, colour, engine capacity, weight, fuel type or year of manufacture. Fields can be optional or required depending on the available control.
Only request information your team can reliably collect. Required fields prevent the proof step from completing until a value is supplied.
Configure proof details#
Go to Settings → Proof Details to choose the additional information captured during a collection or delivery. These settings shape the app's proof wizard and may include job- or vehicle-specific fields.
Choose from the available list of additional proof fields and decide which selected fields are required. Field names are predefined and cannot be changed. If the detail you need is not available, request that it be added by emailing contact@moon15.co.uk.
Customise report emails#
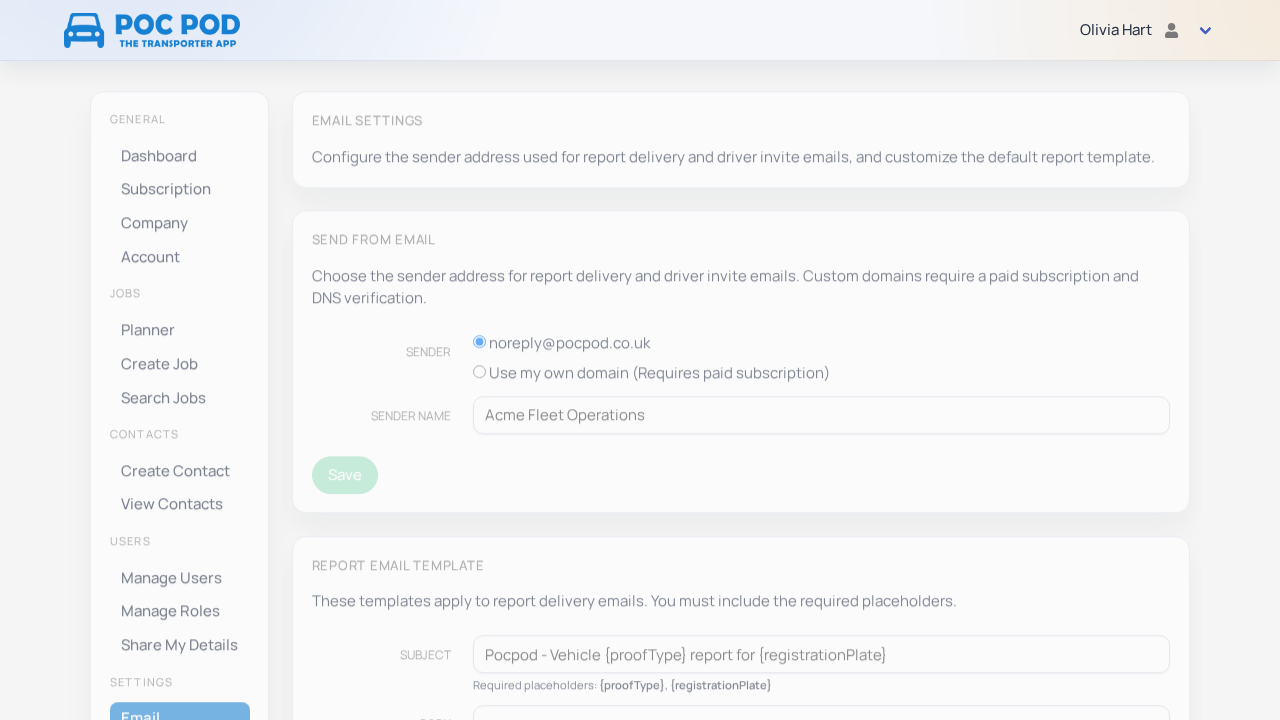
Go to Settings → Email. Depending on the plan and account configuration, you can set the sender name, sender email and the subject or body template used for report emails.
- Save the sender details.
- If Pocpod displays domain-verification records, add them with your domain provider.
- Select the verification action and wait for the status to update.
- Save the report subject and message template.
- Send a real test report to an address you control.
Until a custom sender is verified, Pocpod can use its default sending identity.
Review miscellaneous settings#
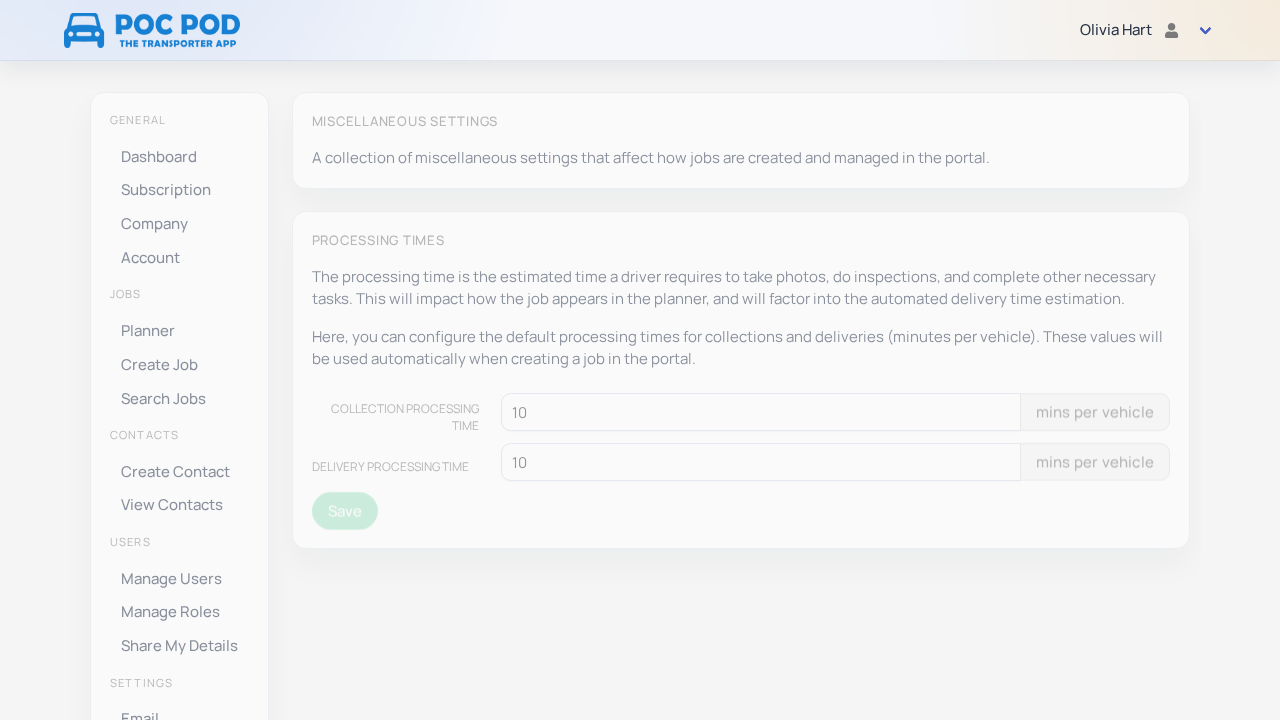
Open Settings → Misc for organisation-wide options that do not belong to proof or email configuration. Read each description before changing it, save, and ask app users to sync if the option affects their workflow.
Check settings in the app#
The app's Settings page contains device-specific options. On Android, Enable multi-photo uploads allows several library images to be selected at once. Enable background job lets Pocpod periodically sync while the app is closed, subject to the device's battery and background-data controls.
These local settings affect only that device. Company, vehicle and proof settings remain controlled from the portal.